


.svg)
.svg)
.svg)
.svg)
.svg)
.svg)
.svg)
.svg)
.svg)
.svg)
.svg)
.svg)

.svg)
This guide will walk you through the process of creating and managing your LumaDock account after making your first purchase. LumaDock uses WHMCS for customer management, and Lagom for its front-end design. Here’s a step-by-step guide to managing your account, from registration to customization and settings.
Step 1: Sign Up and Create Your LumaDock Account During Checkout
1. Add Product to Your Cart
• To begin the account creation process, select the VPS or product you wish to purchase from the LumaDock website. After selecting the product, click on the “Order Now” button.
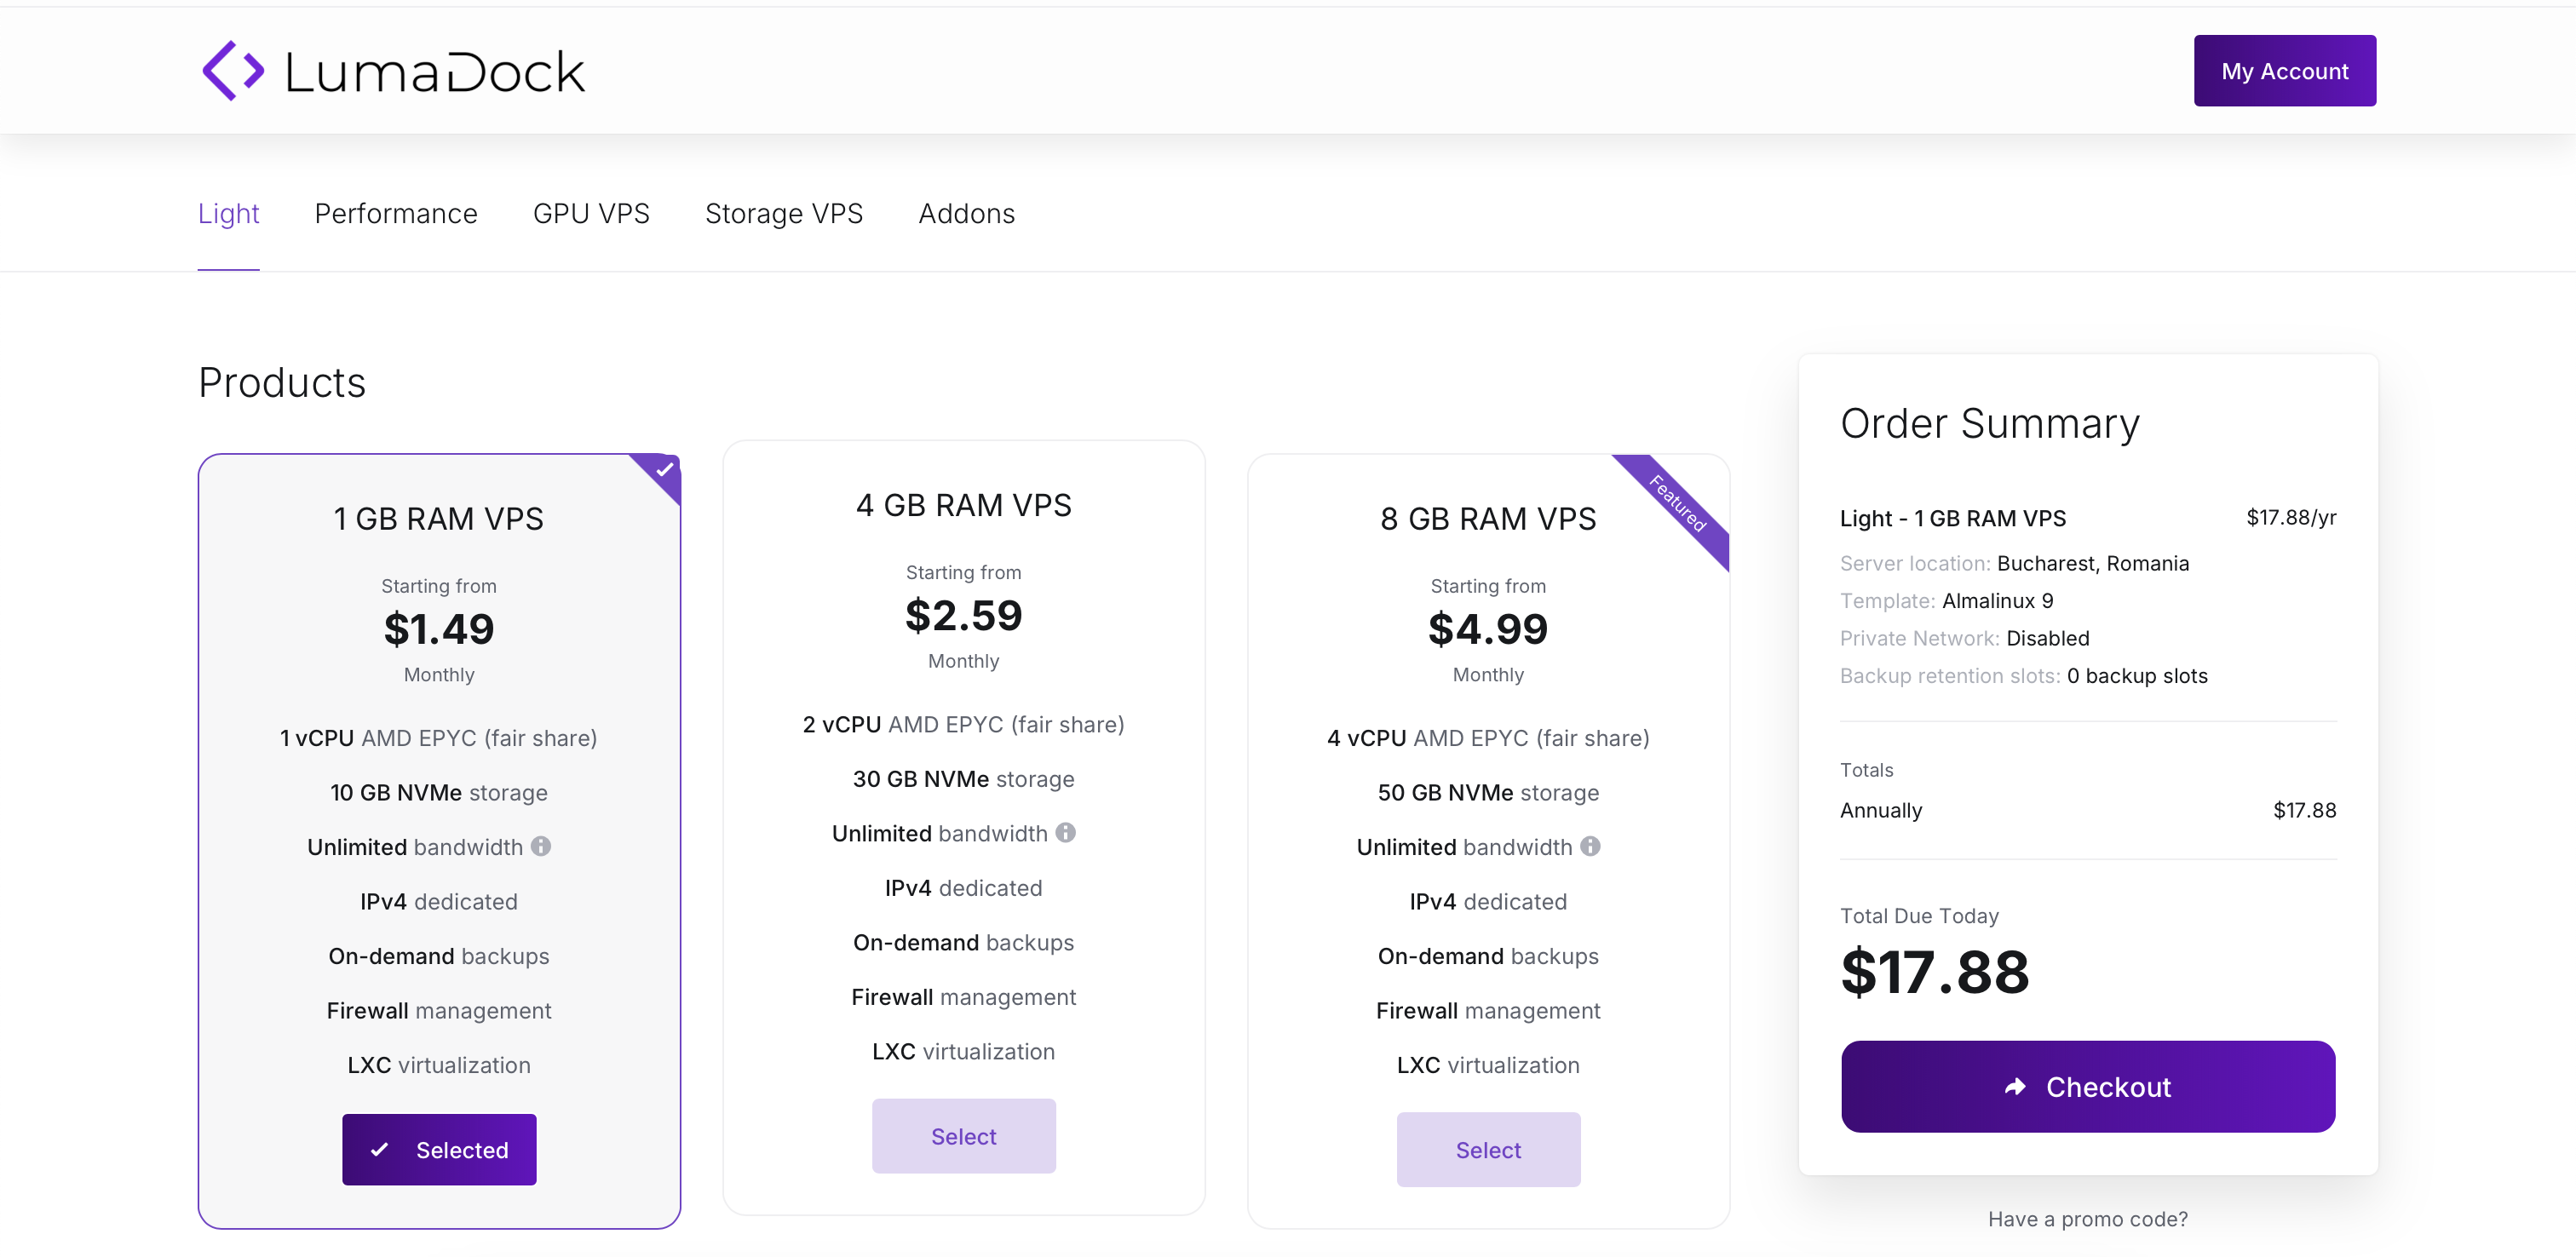
2. Start Your Order
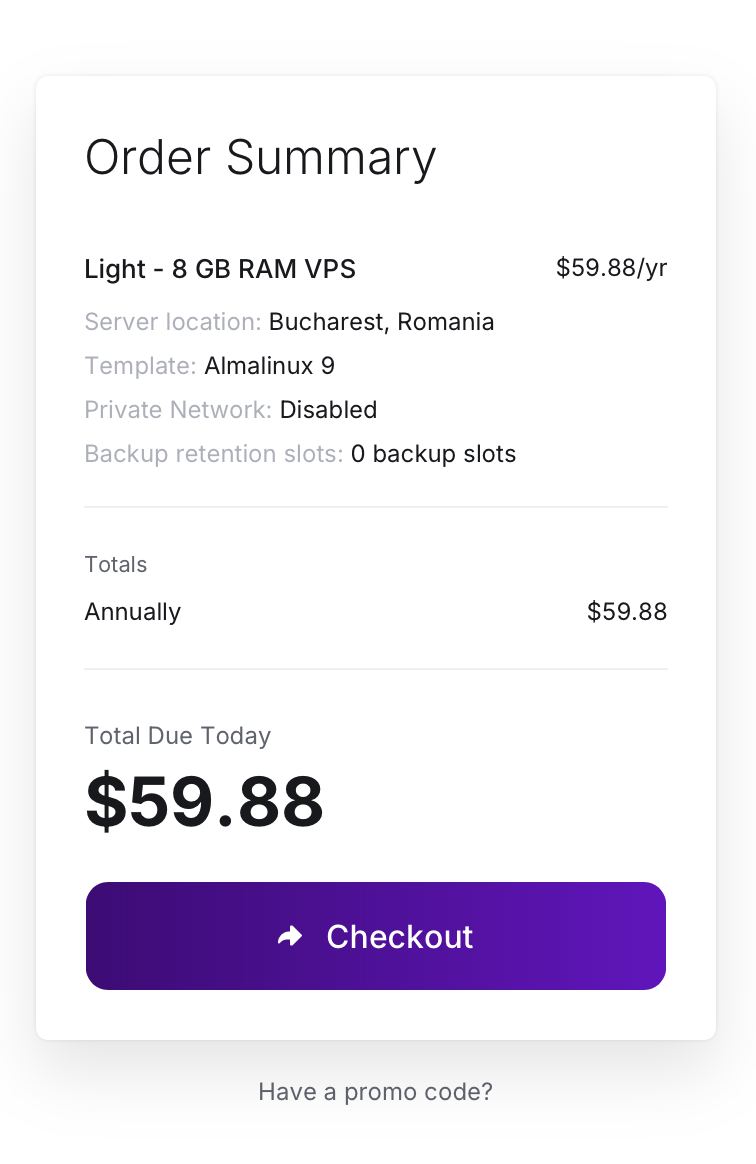
• You will be taken to the order page, where you will be able to customize your server configuration. Once you have selected your desired VPS plan and features, click on the “Checkout” button.
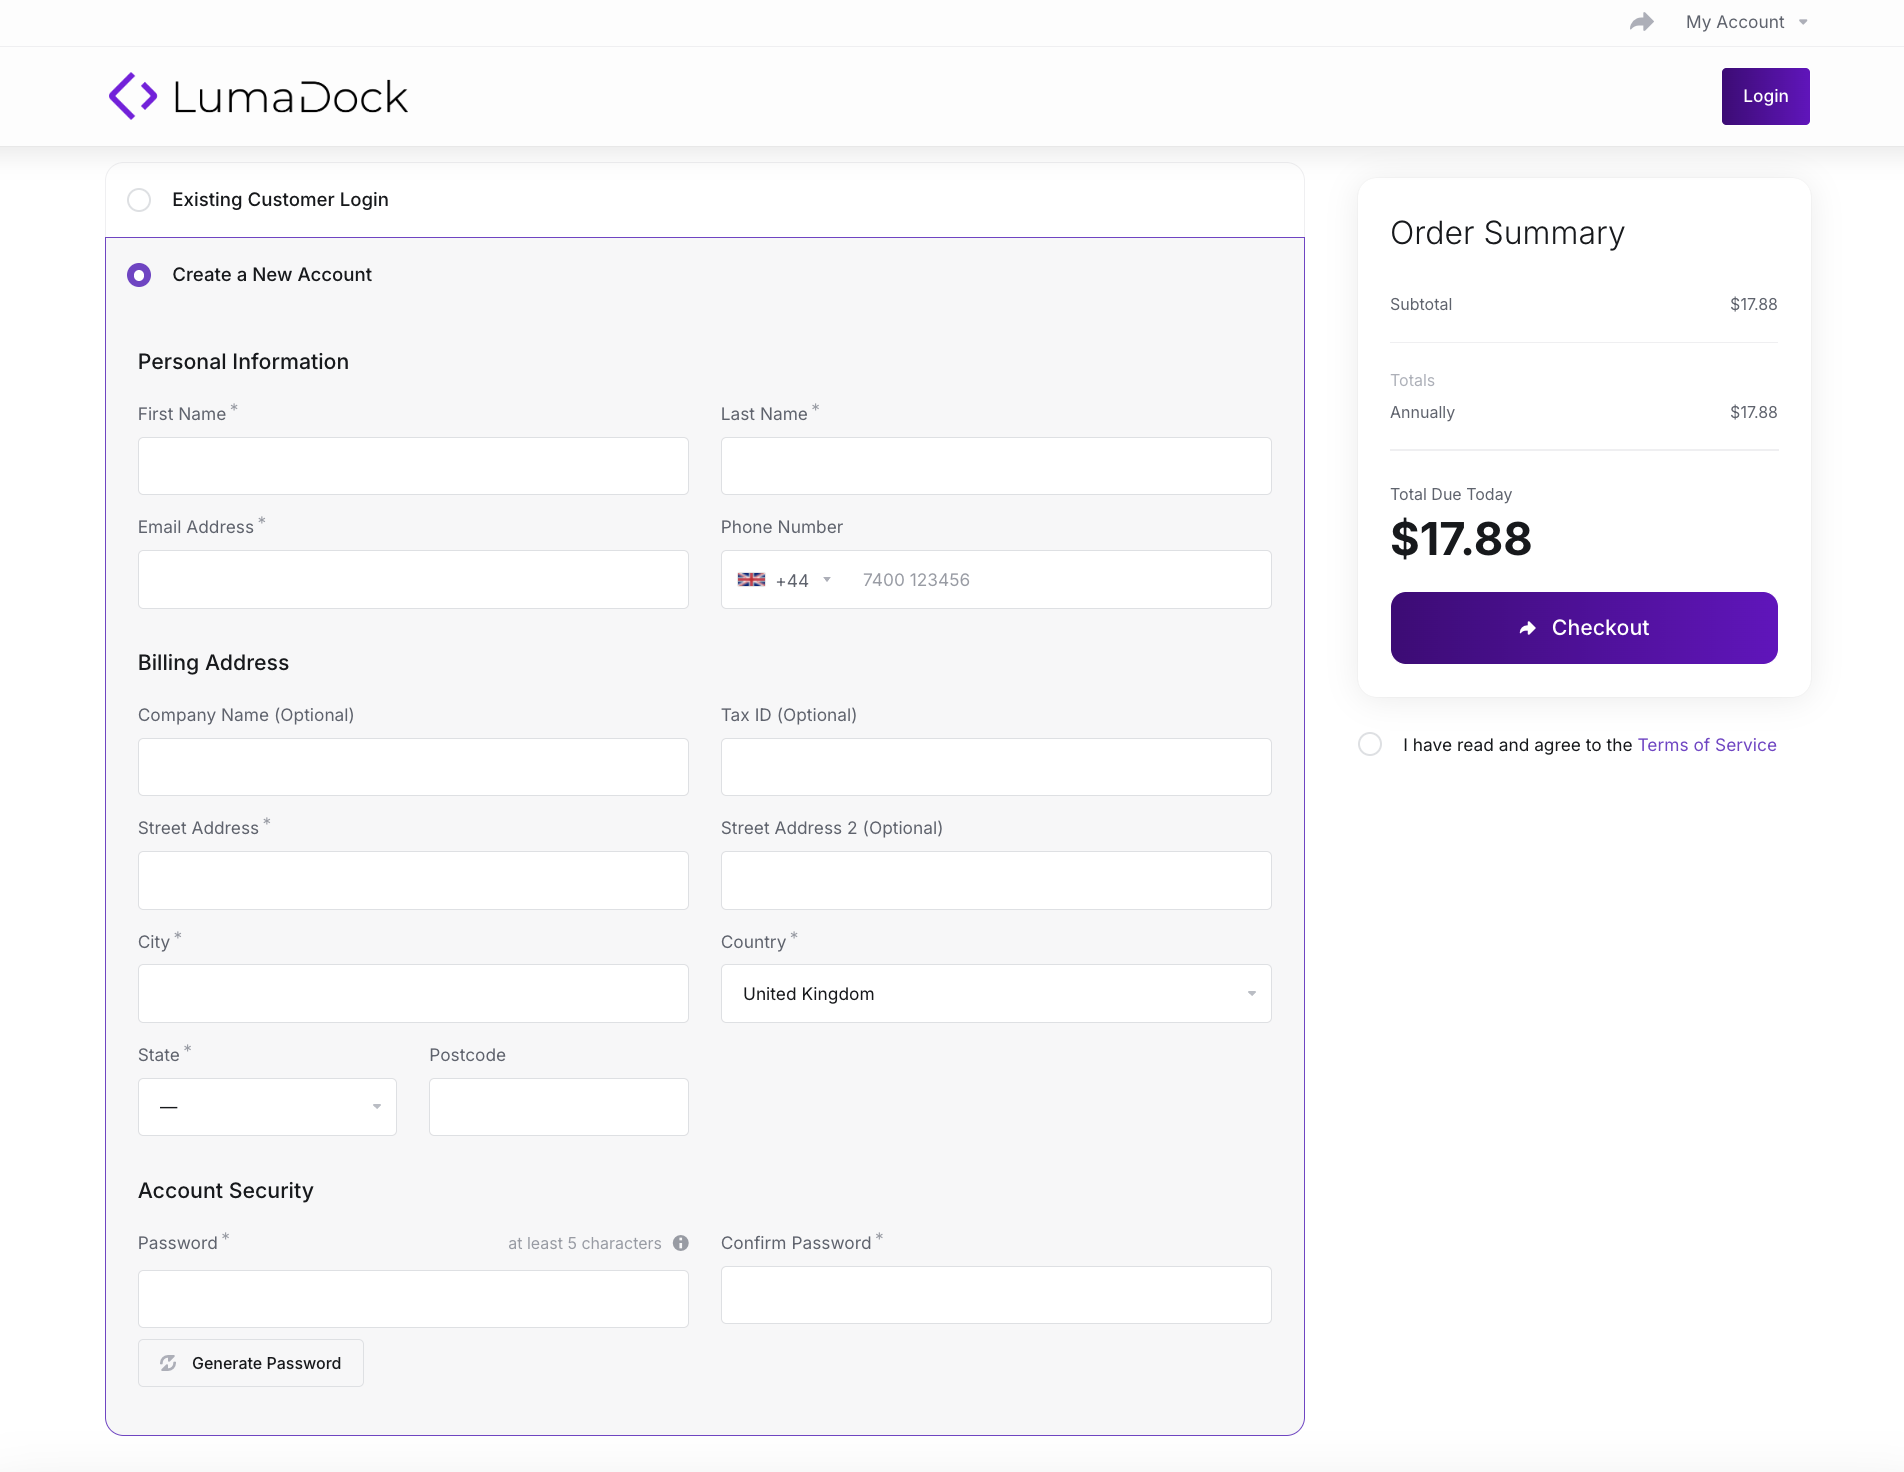
3. Account Creation During Checkout
As part of the checkout process, you’ll need to provide the following details:
• Full Name
• Email Address (used for login and notifications)
• Username (for accessing the LumaDock control panel)
• Password (create a strong password for security)
Enter your payment details, which will finalize your order and activate your account. No additional sign-up form is required; this step serves as both your registration and purchase.
4. Confirm Your Purchase
Once you submit your payment, LumaDock will process the order, and your account will be automatically created. You’ll receive an email containing your account details, and you will have immediate access to your LumaDock dashboard.
Step 2: Logging into Your LumaDock Account
1. Access the Login Page
Once your account is created and your order is processed, you can log in to your LumaDock account. Go to the Login page on the website and enter your email address and password.
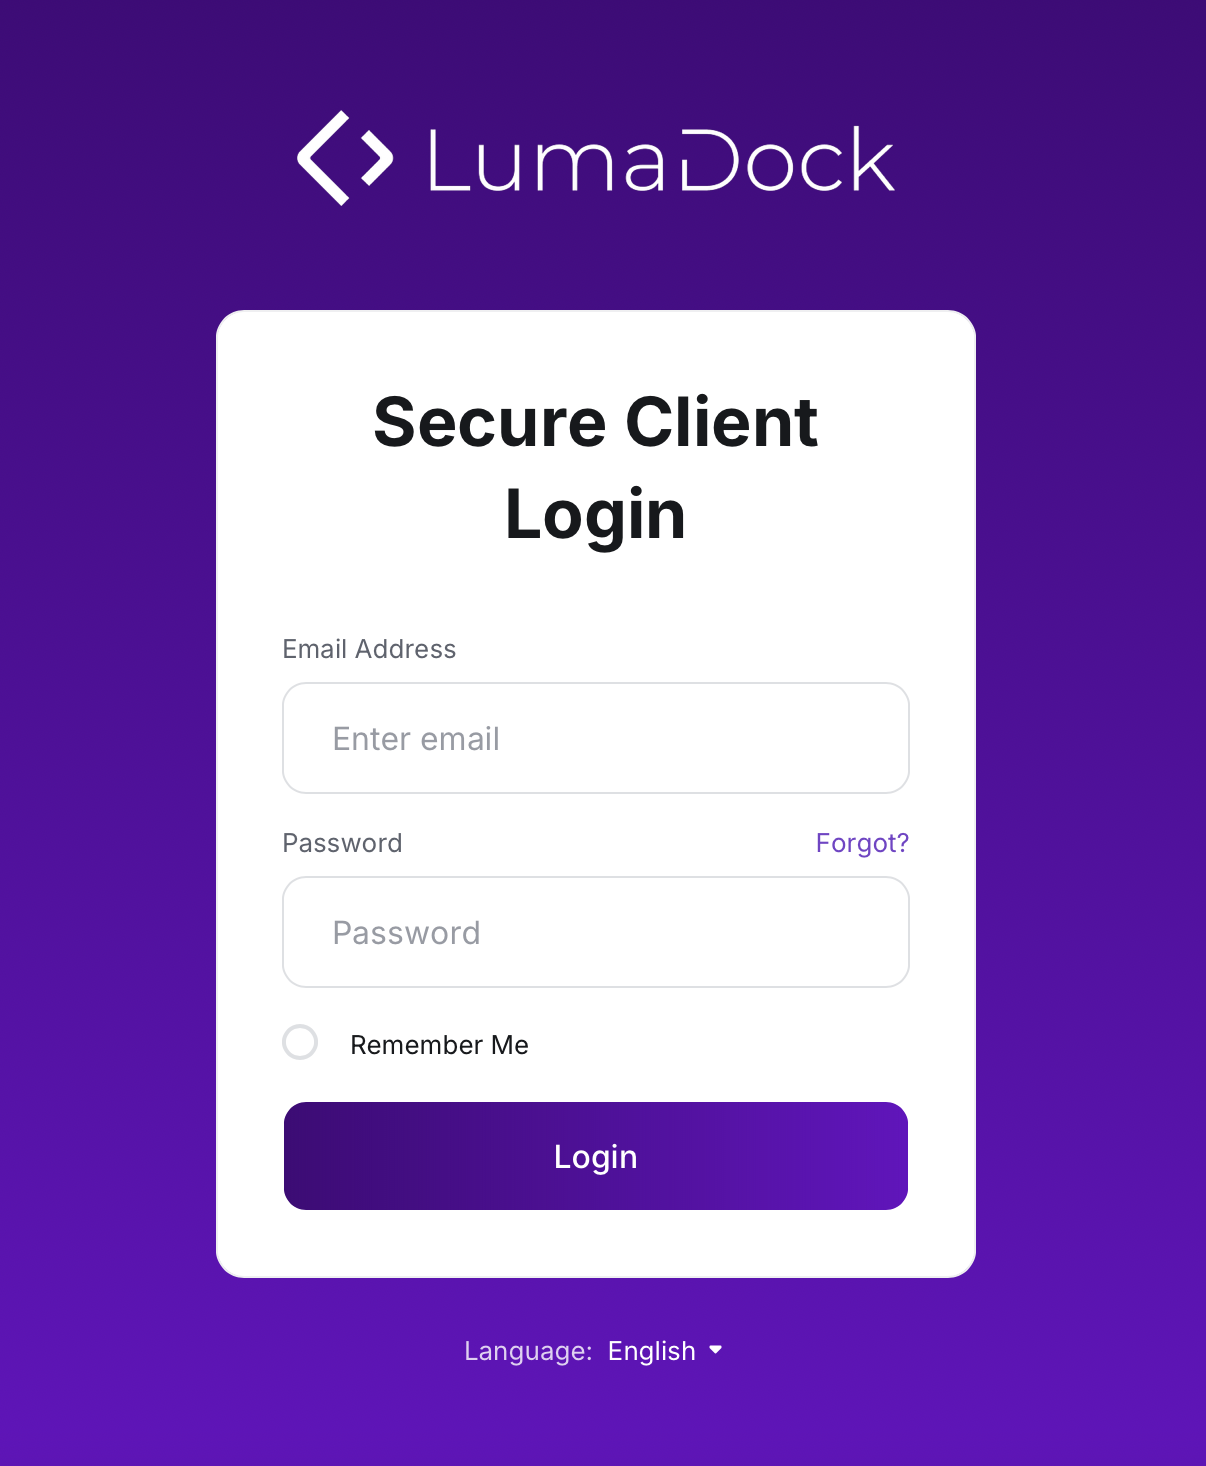
2. Enter Login Credentials
On the login page, input the username and password you created during the checkout process.
3. Click on ‘Login’
After entering your credentials, click on the “Log In” button to access your LumaDock account.
Step 3: Managing Your Profile Settings
Once logged in, you can manage your personal details, billing information, and other settings.
1. Navigate to ‘My Profile’
After logging in, click on your username in the top-right corner. This will open a dropdown menu where you can select Profile Settings.
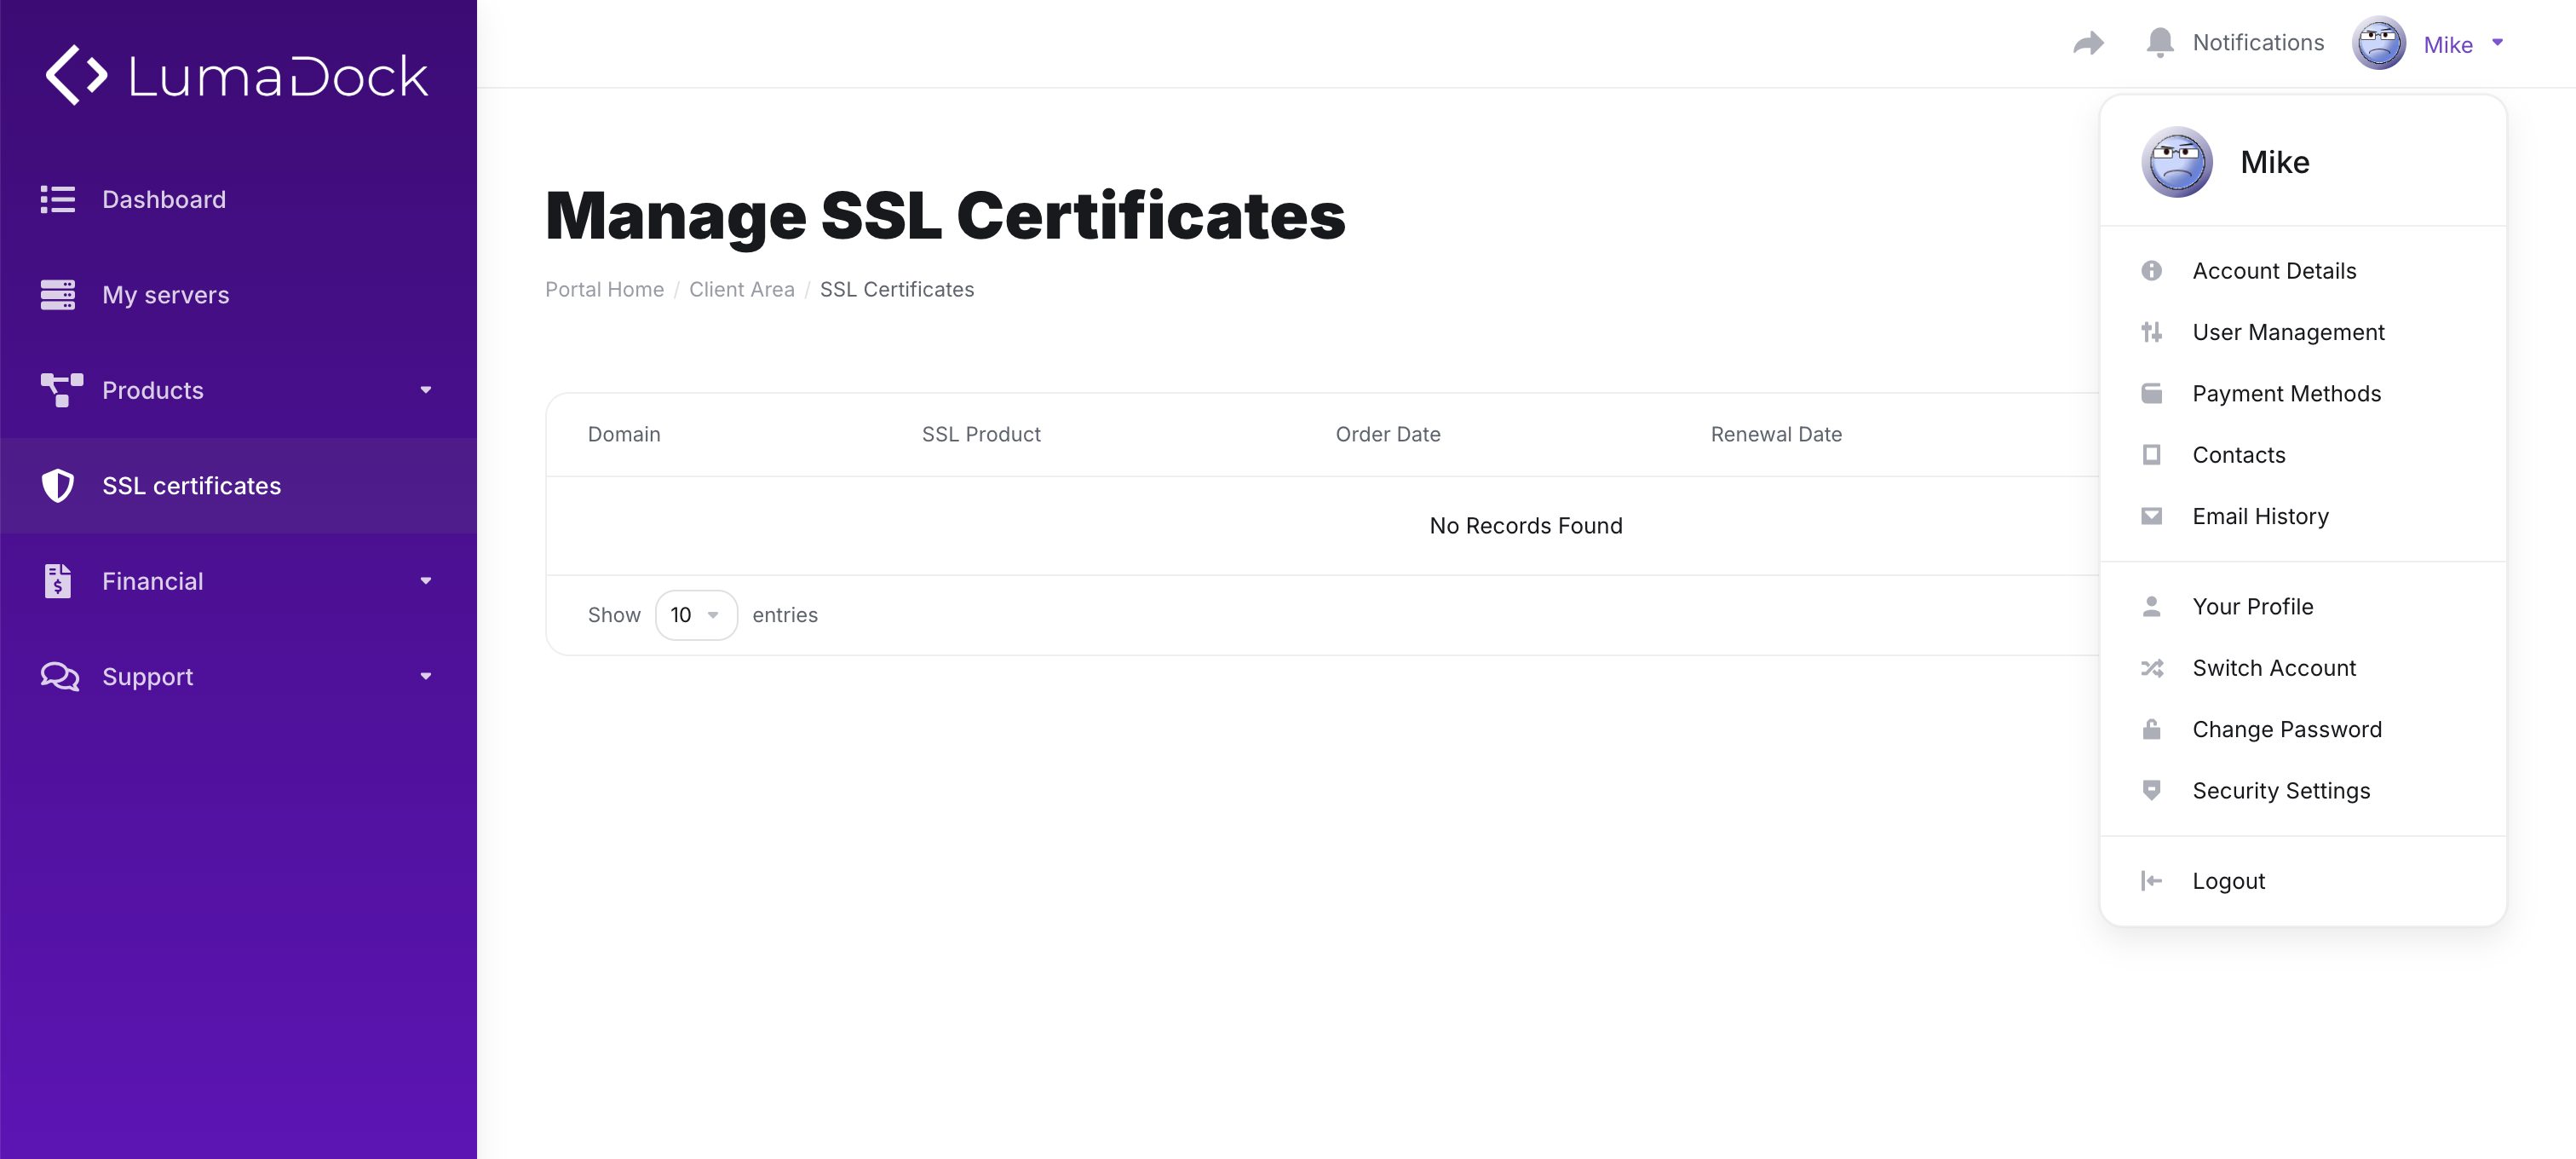
2. Update Personal Information
In the Personal Information section, you can edit your:
• Name
• Email Address
• Phone Number
• Company Name (if applicable)
3. Change Password
To update your password, navigate to the Security section and input your current and new password.
4. Billing Information
Go to the Billing Information section to add or update your payment methods, such as credit card or PayPal details.
5. Two-Factor Authentication (Optional)
To enhance your account’s security, you can enable Two-Factor Authentication (2FA). Follow the instructions provided on the Security Settings page to set it up.
6. Save Changes
After updating your personal details, be sure to click the “Save Changes” button at the bottom of the page.
Step 4: Accessing Your LumaDock Dashboard
1. Go to Your Dashboard
The LumaDock Dashboard is your main hub for managing your VPS instances and account settings. To access it, click on the Dashboard link from the top navigation bar after logging in.
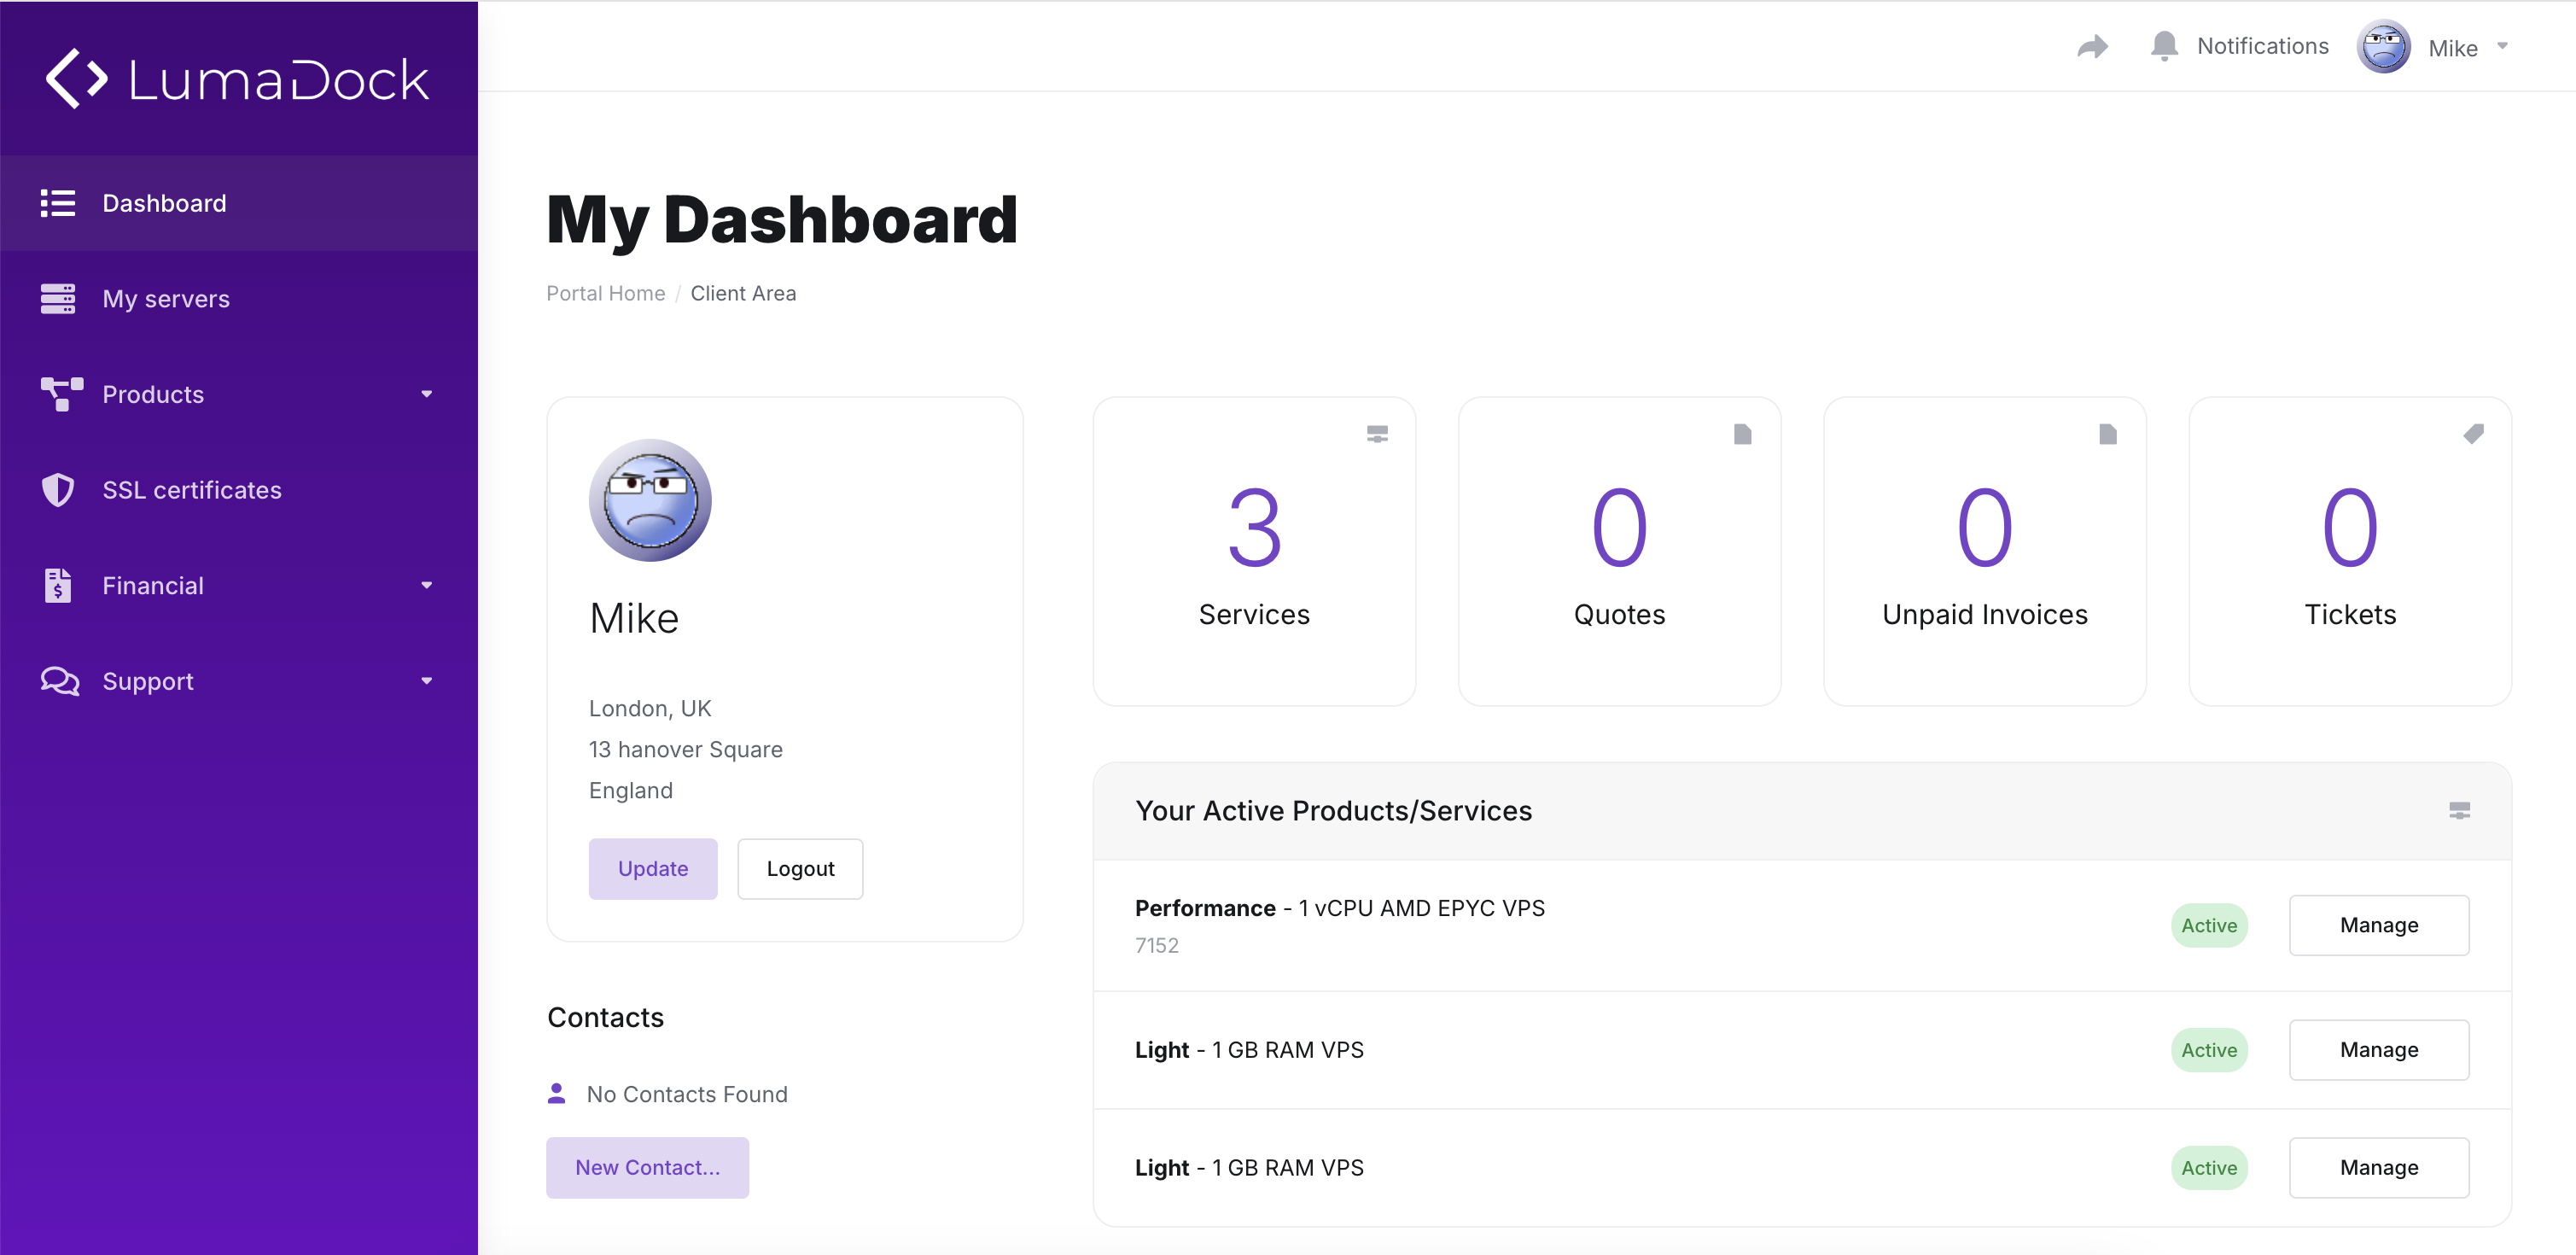
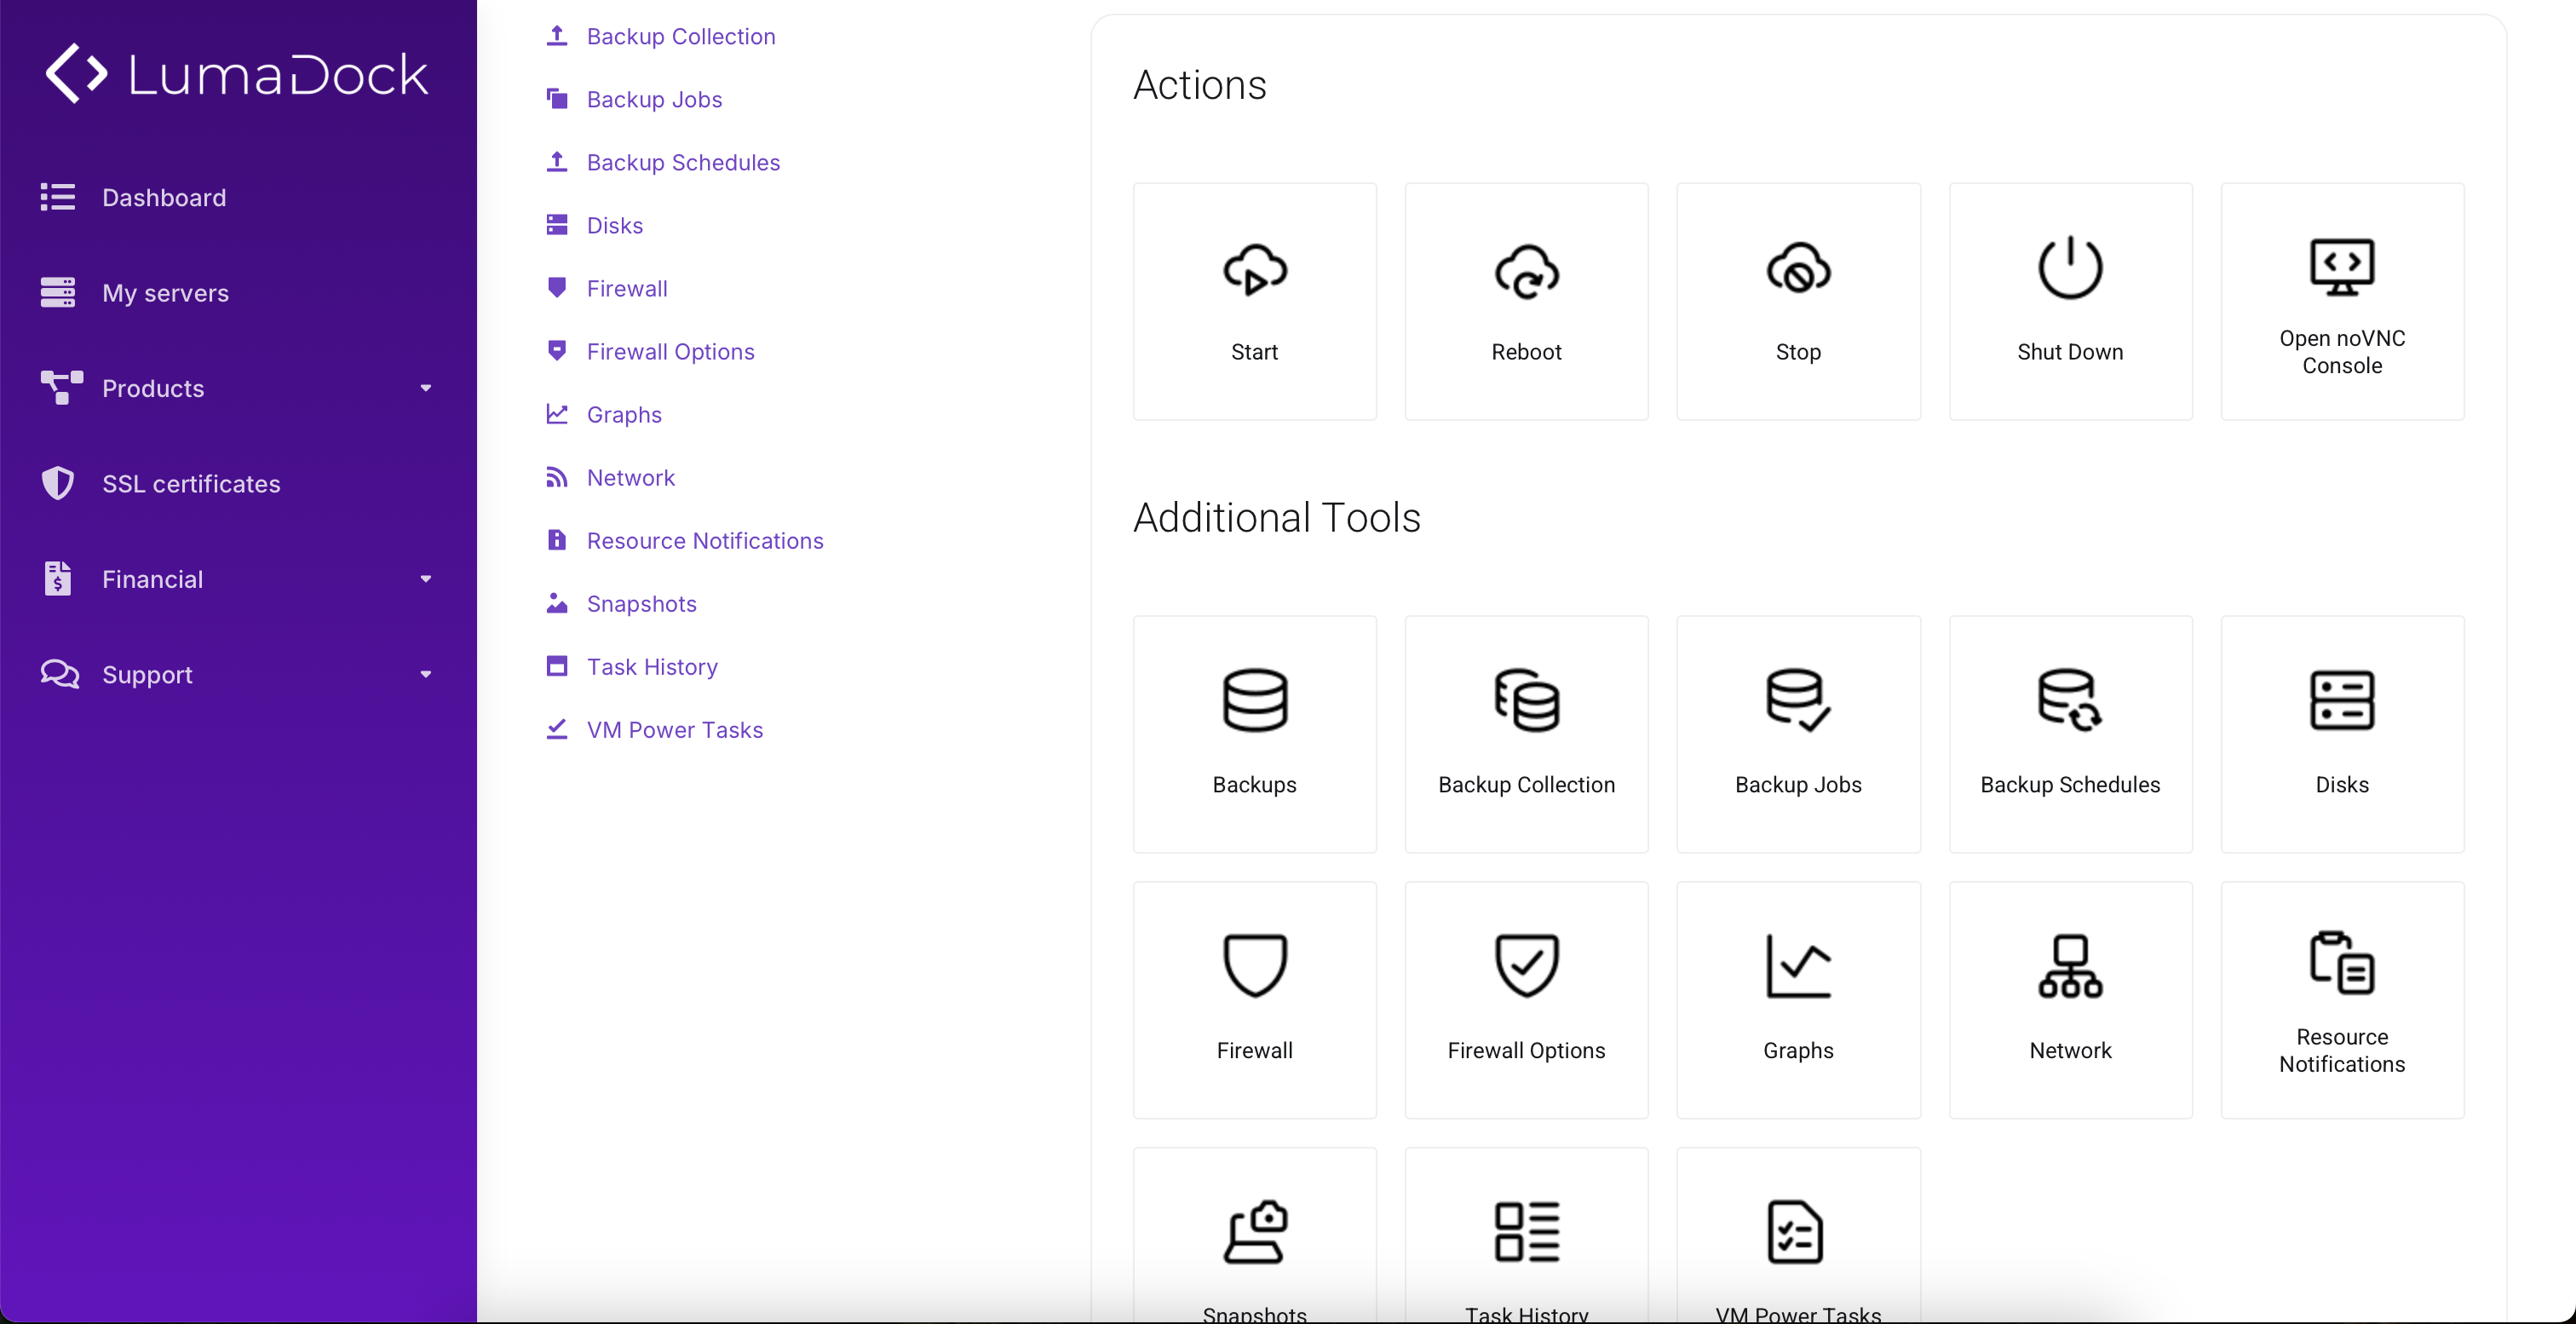
2. Manage VPS Instances
From the dashboard, you can deploy new VPS instances, start or stop servers, monitor resource usage, and more.
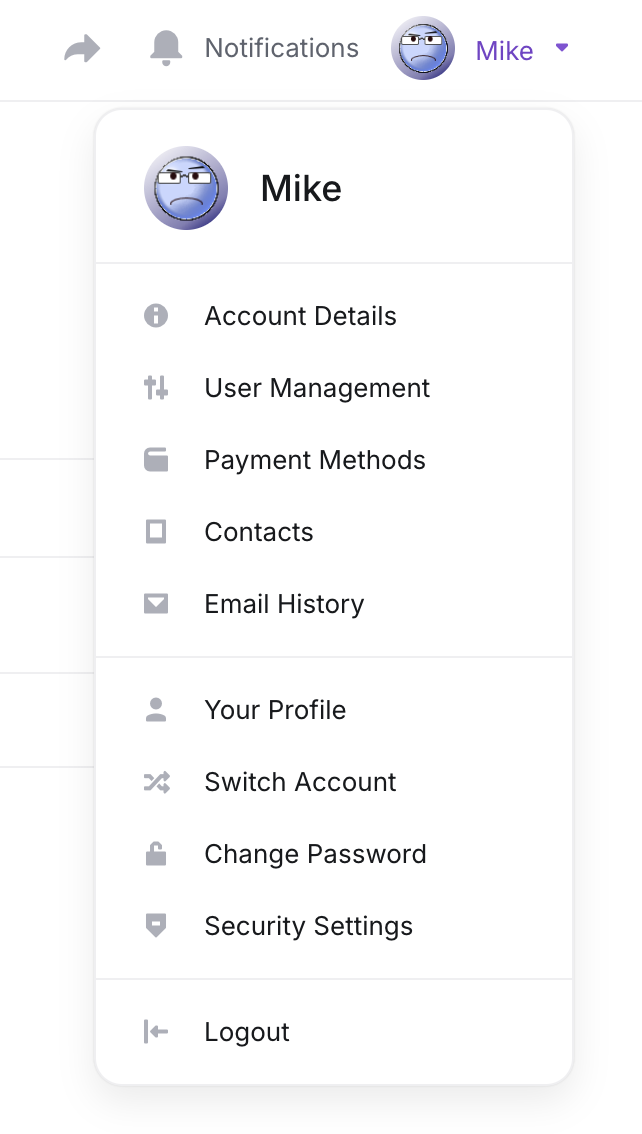
Step 5: Logging Out
1. Log Out from Your Account
When you’re finished managing your account, click on your username in the top-right corner again and select Log Out.
Conclusion
Creating and managing your LumaDock account is quick and simple, with most actions integrated into the purchase and setup flow. Whether you’re creating your account for the first time or managing your profile settings, this guide should help you navigate the process effortlessly.
You now have access to the full suite of tools needed to manage your VPS and account, with options for scaling, configuration, and secure management.
