


.svg)
.svg)
.svg)
.svg)
.svg)
.svg)
.svg)
Setting up a website in ISPmanager is pretty straightforward once you know where everything sits. The interface looks simple, but there are a few options that can confuse you the first time you go through it.
This guide walks you through both ways of creating a site: manual setup and the WordPress installer. The steps are almost identical to what you'd see in any modern control panel, but ISPmanager gives you a bit more control in certain areas.
Open the Sites section
Start by logging into your ISPmanager panel.
In the main interface, find and click the Sites section. This is where all your domains and hosted websites are managed.
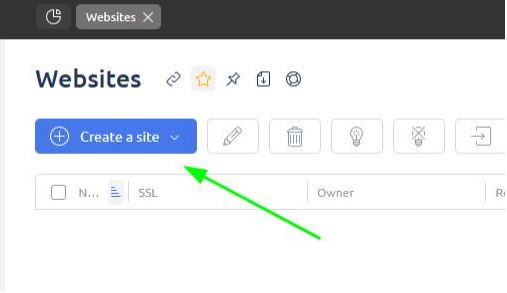
If this is your first time, the list will be empty.
Create a new site
Click the Create site button.
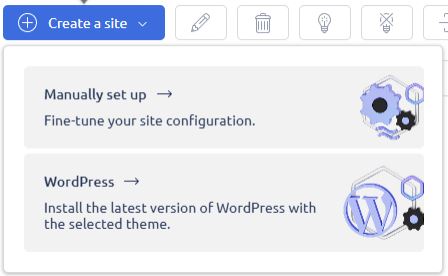
You’ll be asked to choose between two methods:
- Manual setup
- WordPress installation
Both work fine. The right choice depends on how much control you want from the start.
Method 1: Manual setup
Step 1: Add your domain
In the Domain name field, enter your domain.
If you don’t have one yet, you can still continue with a temporary name and update it later.
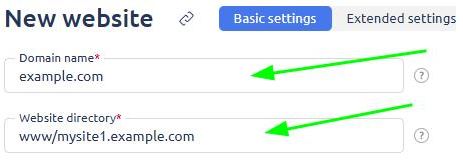
The Website directory is generated automatically. You can leave it as is, or change it if you prefer a cleaner structure for your files.
Step 2: Configure handler and CMS
The Handler is set to PHP by default. That’s fine for most websites.
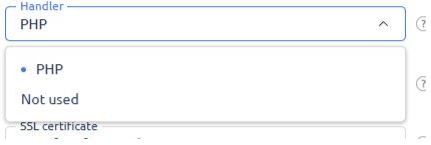
If you're running something more custom like Python apps, you can switch it to not used, but that’s usually for advanced setups.
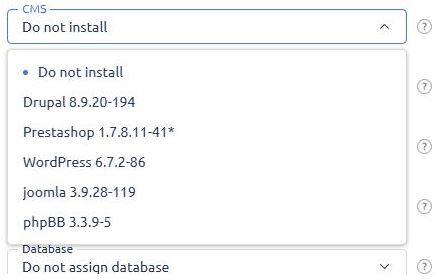
The CMS dropdown lets you install platforms like:
- WordPress
- Joomla
- Drupal
If you’re not sure yet, you can skip this and install later.
Step 3: Set up SSL
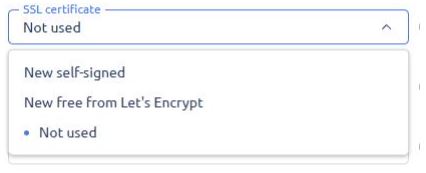
You’ll see three options:
- Self-signed certificate
- Free Let's Encrypt certificate
- No SSL
Go with Let’s Encrypt unless you have a specific reason not to. It’s free and works instantly.
Step 4: PHP settings
These fields only show up if PHP is selected as the handler.
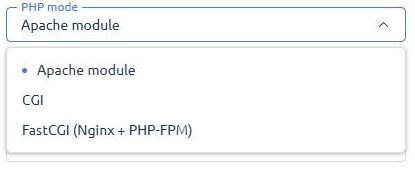
You can choose:
- PHP mode: Apache module, CGI, or FastCGI (Nginx + PHP-FPM)
- PHP version: depends on what’s installed on your server
FastCGI with PHP-FPM is usually the best balance between performance and compatibility.
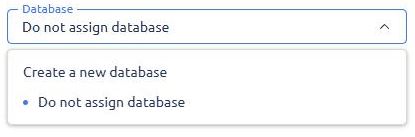
Step 5: Database setup
You can create a database directly from this screen.
Or skip it by selecting Do not assign database if your site doesn’t need one.
Once everything looks good, click Create.
Your website is now live and ready for files or further configuration.
Method 2: WordPress setup
If you choose WordPress, things move a bit faster.
You’ll first browse a list of predefined templates. Pick one that fits your use case and click Select.
Next, fill in:
- Domain name
- Admin username
- Password
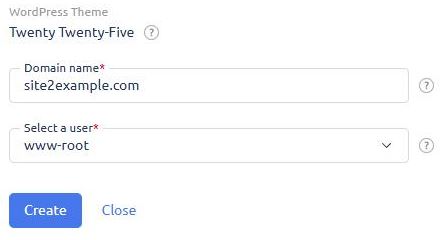
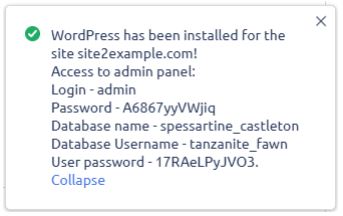
Once submitted, ISPmanager handles the rest.
It automatically:
- Installs WordPress
- Creates a database
- Configures the site
You’ll get login details once the installation finishes.
What happens after creation
After your site is created, you can:
- Upload files via file manager or FTP
- Point your domain DNS to your server
- Adjust PHP settings or firewall rules
If you used WordPress, you can log in immediately and start customizing your site.

And yeah, first time doing this might feel a bit messy. After the second or third setup, it becomes muscle memory.
A quick note on hosting performance
Your control panel is just one part of the stack.
The actual performance of your website depends heavily on the VPS infrastructure behind it. Fast NVMe storage, proper isolation, and stable networking make a noticeable difference once your site gets traffic.
That’s why many setups today run on fully virtualized environments with dedicated resources and built-in firewall control.
It keeps things predictable, which matters more than people expect.
Final thoughts
Manual setup gives you full control. WordPress setup saves time.
There isn’t a right or wrong choice here. It just depends on how you prefer to work.
If you're testing things or learning, try both methods once. You’ll understand the panel much better after that.

